Probing Fontenay
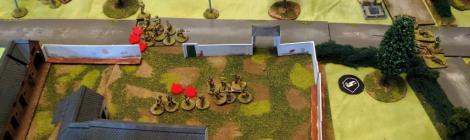
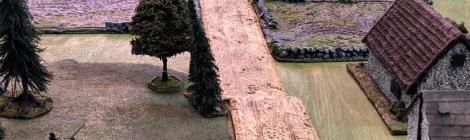
11th Royal Scots Fusiliers probe German positions in Fontenay le Pesnel

11th Royal Scots Fusiliers probe German positions in Fontenay le Pesnel
Somewhere in Russia: Soviets and Germans slug it out in my first game of What a Tanker

Additional Eastern Front infantry and armour

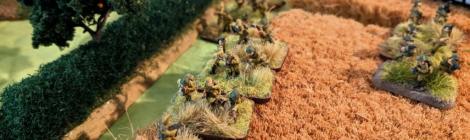
The second and third attempts to get past the first scenario in the Too Fat Lardies Operation Martlet campaign.

Two more kits for the display case

Introducing a friend to Chain of Command

Great fun having my first DBA games in a long while
An IABSM game set on the Eastern Front

Two 15mm Chain of Command games on the Eastern Front

My recent modelling efforts
